
Hey everyone! Ken here with Ken's Kreations.
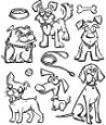
In previous posts, I have gushed over the Tim Holtz Crazy Dog Stamp Set and how to use them. What I love about this stamp set is how well it can be used for masculine cards. When you pair this stamp set with the Tim Holtz Crazy Things Stamp Set, you will see all the different occasions you can for cards. I used it this time for a birthday card! It was a blast as I was able to really use my coloring and masking skills! Let's walk through this card

So this card was 100% created and colored. I just love how the background looks as though it is pattern paper. It was also suprisingly easy to create. Before I got comfortable with my masking skills, I went to the best place to absorb as much information as I could, YouTube. This card is no different. I totally found a video that not only gave me the inspiration, but also the skills I needed for this card.
The inspiration and skills needed for this card came from a YouTube video. You can find this video by CLICKING HERE, Now as you can see I did change up my card a little and here are the steps that I did to create this card.
1) Cut out a circle big enough to fit you dog stamp in the middle. I used Nested Pierced Circles and ran these through with some scrap paper in my Cuttlebug Machine. This specific piece will be used for a mask.
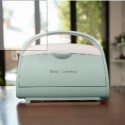
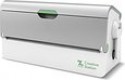
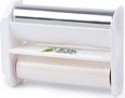
2) Now in order to make a mask we need to have some stickiness. I did not have any Stamping Mask Paper, so I used my 9" Xyron Creative Station with Repostionable Adhesive Cartridge. This gives enough of a hold, but we will be able to remove it when we are done. Place this in the center of the card.
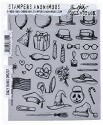
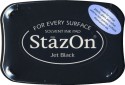
3) Using the Tim Holtz Crazy Things Stamp Set and Black StazOn Ink to stamp your selected background images on the card. Once you have the background stamped, we will need to create masks for each of these items.
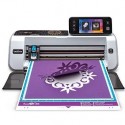
4) Stamp the same amount of background images onto scrap paper. Either cut these images out by hand or use the Brother ScanNCut to cut them out.
5) Now in order to make a mask we need to have some stickiness. I did not have any Stamping Mask Paper, so I used my 9" Xyron Creative Station with Repostionable Adhesive Cartridge. This gives enough of a hold, but we will be able to remove it when we are done. Place this in the center of the card.
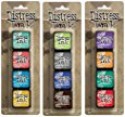
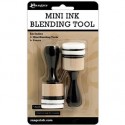
6) Now that we have our background stamps and circle masked we can start inking the background. I used Tim Holtz Broken China Color and applied it with the 1" Round Blending Tool. Continue coloring until the desired look is achieved and let dry a minute. Remove ALL of your masks.
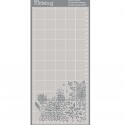
7) I knew I wanted a pierced circle around the dog image so, I used the Cuttlebug Machine with the Magnetic Plate and positioned the Nested Pierced Circles where I wanted.
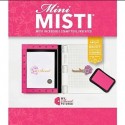
8) At this point using the Mini MISTI to position the dog into the center of the card. Once again I used Black StazOn Ink.
9) Now comes the FUN, coloring. I started coloring the background images and then went onto the dog in the center. I used my favorite pens to color which are the Clean Color Real Brush Watercolour Brush Pens.

Well, I hope you enjoyed today's card and a special SHOUT OUT to the video who helped me all along the way. Make sure to check out their channel and this video by CLICKING HERE.
I have listed all of the supplies and files I used to make this card down below. Please use the links below to shop and by doing so you will be helping support Ken's Kreations!!
Remember caring is sharing and I would love for you to share this post.
PRODUCTS USED IN THE PROJECT:
Thanks for supporting Ken's Kreations. As an Amazon Associate, I earn from qualifying purchases.
No comments:
Post a Comment